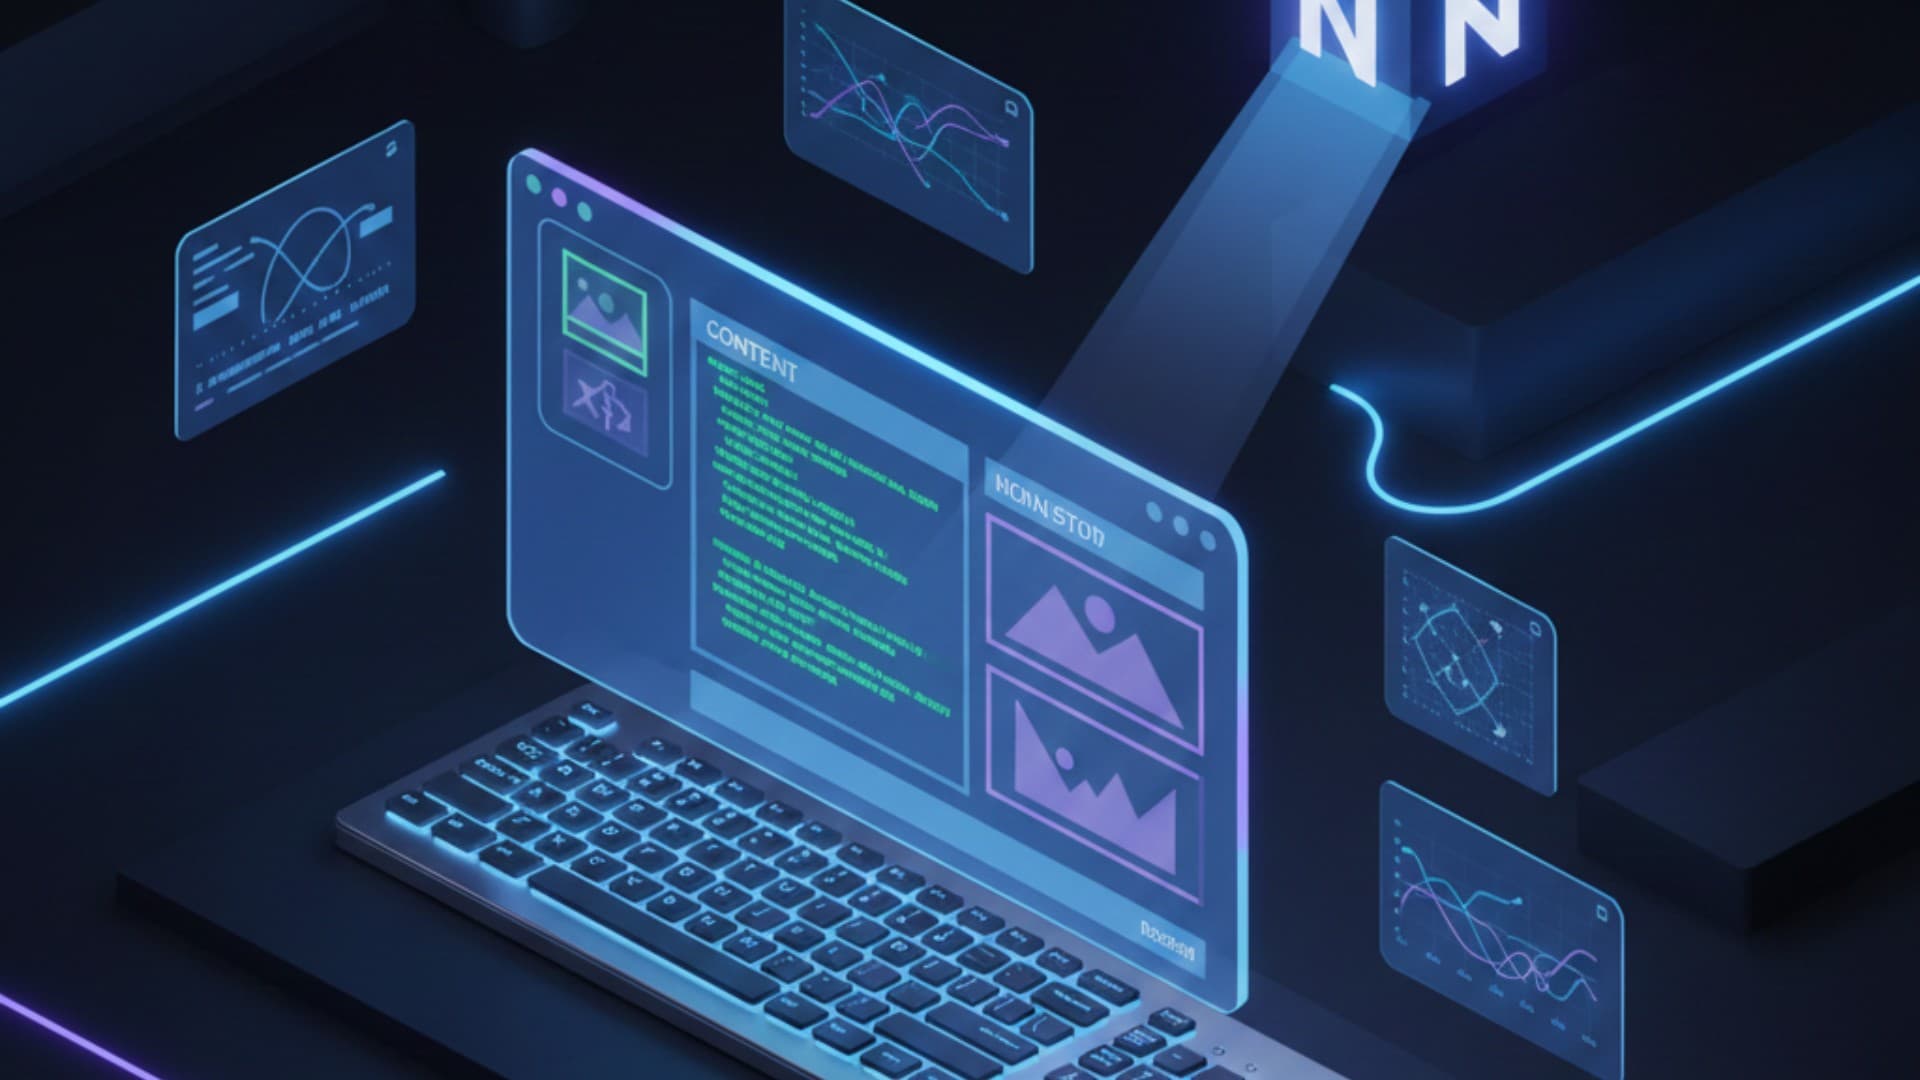
Building a Custom Notion CMS with Next.js 14
I built a custom CMS using Next.js 14 and Notion to streamline my blogging workflow. Features include a split -view Markdown editor, drag-and-drop image uploads to Cloudinary, and slash commands—all integrated directly into my website.
Building a Custom Notion CMS with Next.js 14
I've always loved Notion for its writing experience, but I wanted full control over my blog's frontend. Today, I'm excited to share (and test!) the new custom Content Management System (CMS) I've built for iderbrandt.com.
In fact, I am writing this very post inside the new Admin Dashboard we just built!
Why Build a Custom CMS?
While there are plenty of headless CMS options out there, I wanted something that felt personal and integrated perfectly with my workflow. My requirements were simple but specific:
Notion as the Database: I want to keep my data in Notion because it's portable and easy to manage.
Frictionless Writing: I need a distraction-free editor that supports Markdown.
Image Power: Handling images should be as easy as dragging and dropping.
The Tech Stack
-
Framework: Next.js 14 (App Router)
-
Database: Notion API
-
Styling: Tailwind CSS
-
Auth: NextAuth.js (Secure Admin Access)
-
Storage: Cloudinary (for high-performance images)
Key Features
- The Admin Dashboard
I built a secured /admin route that allows me to manage all my posts. It connects directly to the Notion API to fetch, create, update, and delete pages. No more jumping between Vercel logs and Notion tables.
- The "Split View" Editor
Writing Markdown is great, but seeing how it renders is better. I implemented a Split View mode that shows the raw Markdown on the left and a live preview on the right.
- Drag & Drop Image Uploads
This is my favorite feature. I can simply drag an image from my desktop directly into the editor. The system automatically:
Uploads it to Cloudinary.
Optimizes it.
Inserts the correct Markdown  tag right where my cursor is.
- Slash Commands
Inspired by Notion itself, I added "Slash Commands". Typing / opens a menu to quickly insert headings, code blocks, quotes, and lists without taking my hands off the keyboard.
How It Works Under the Hood
When I hit Publish, the application sends the Markdown content to a server-side API route. This route parses the Markdown into Notion "Blocks" (paragraphs, headings, images) and pushes them to the database via the Notion SDK.
Finally, it triggers revalidatePath, so this post appears on the live site instantly—no rebuilds required.
Conclusion
Building your own tools is one of the most satisfying parts of being a developer. This new workflow removes all the friction from writing, allowing me to focus on what matters: sharing ideas.
Hello world, from my new CMS! 🚀
Gillade du inlägget?
Dela det med någon som också kan tycka det är intressant.
Relaterade inlägg
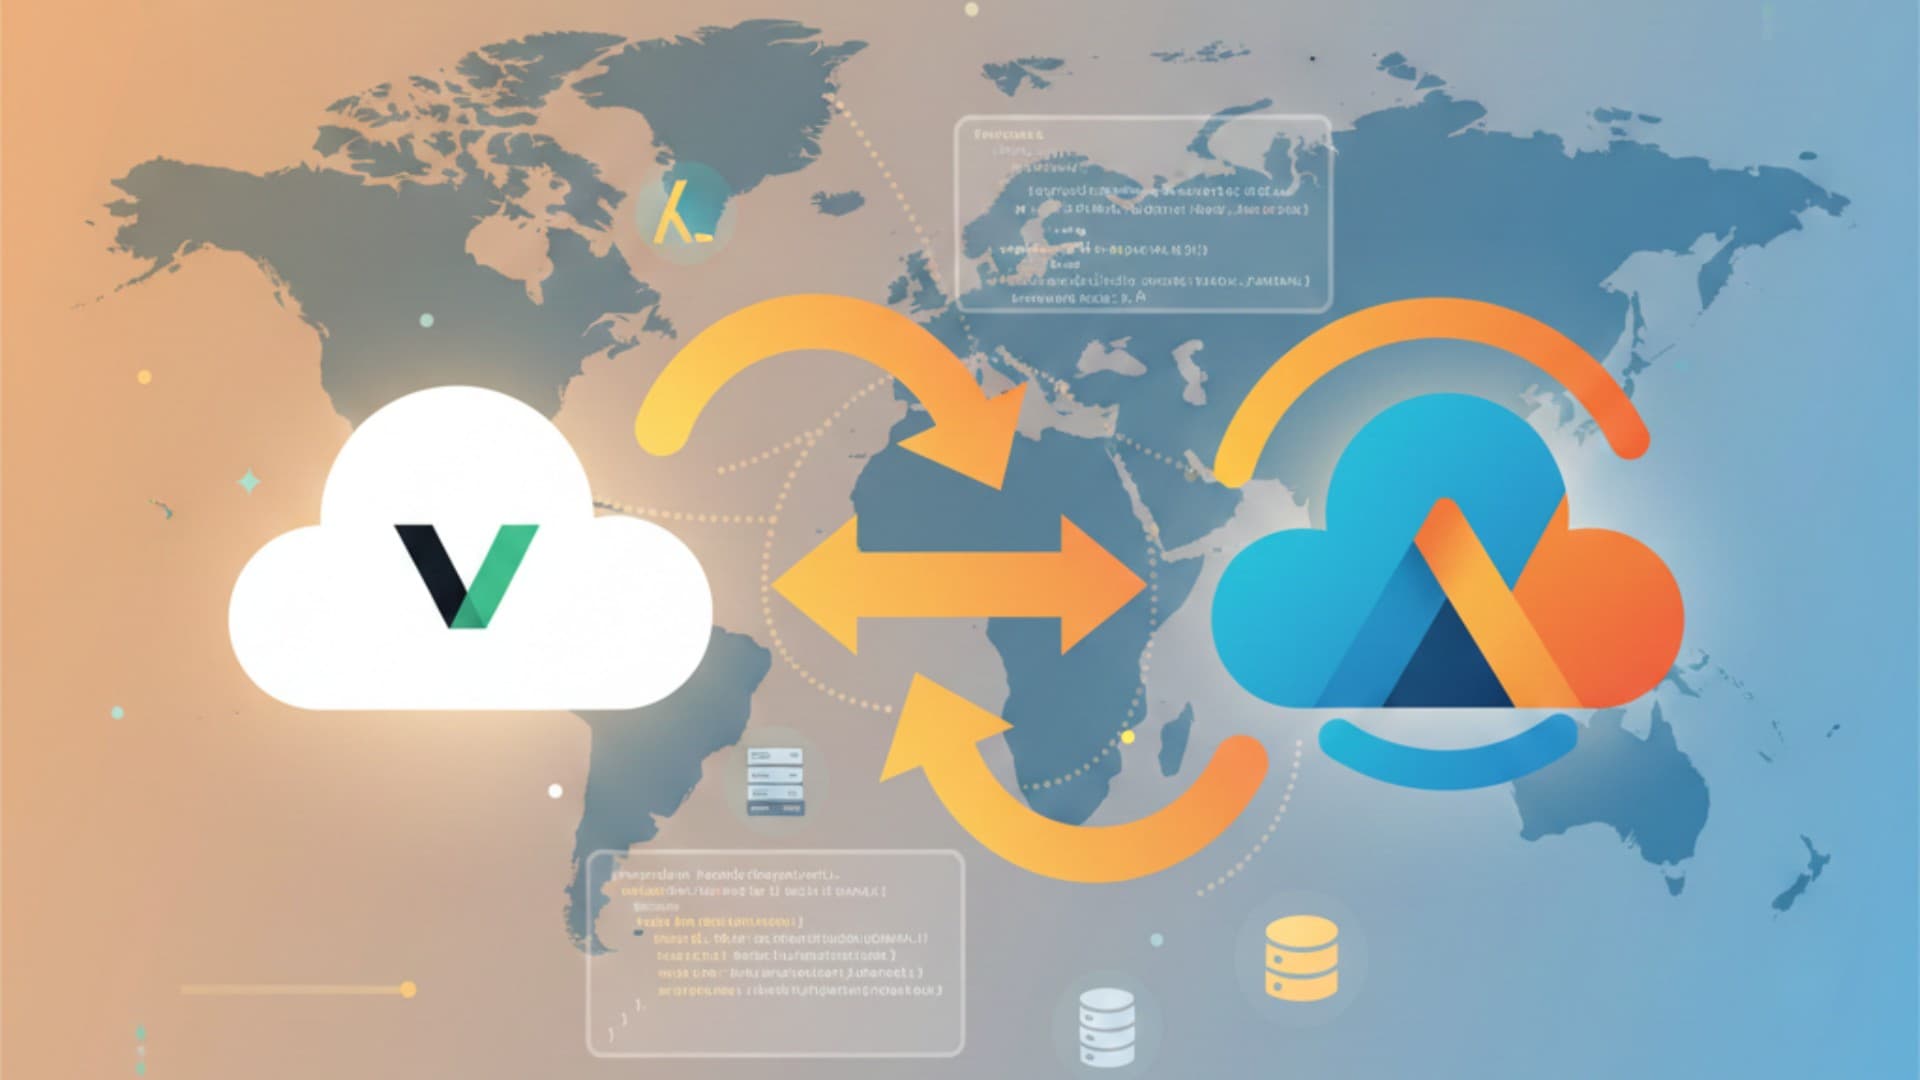
Why I Migrated my Next.js Blog from Vercel to Cloudflare Workers
A practical, step-by-step account of why I moved my Next.js (App Router) site off Vercel and onto Cloudflare Workers using OpenNext—what broke, how I fixed it, and the lessons learned for future migrations.

How to Implement Notion as a CMS for Your Next.js Blog
A complete step-by-step guide to using Notion as a headless CMS for your Next.js blog, including setup, implementation, and automated migration scripts.